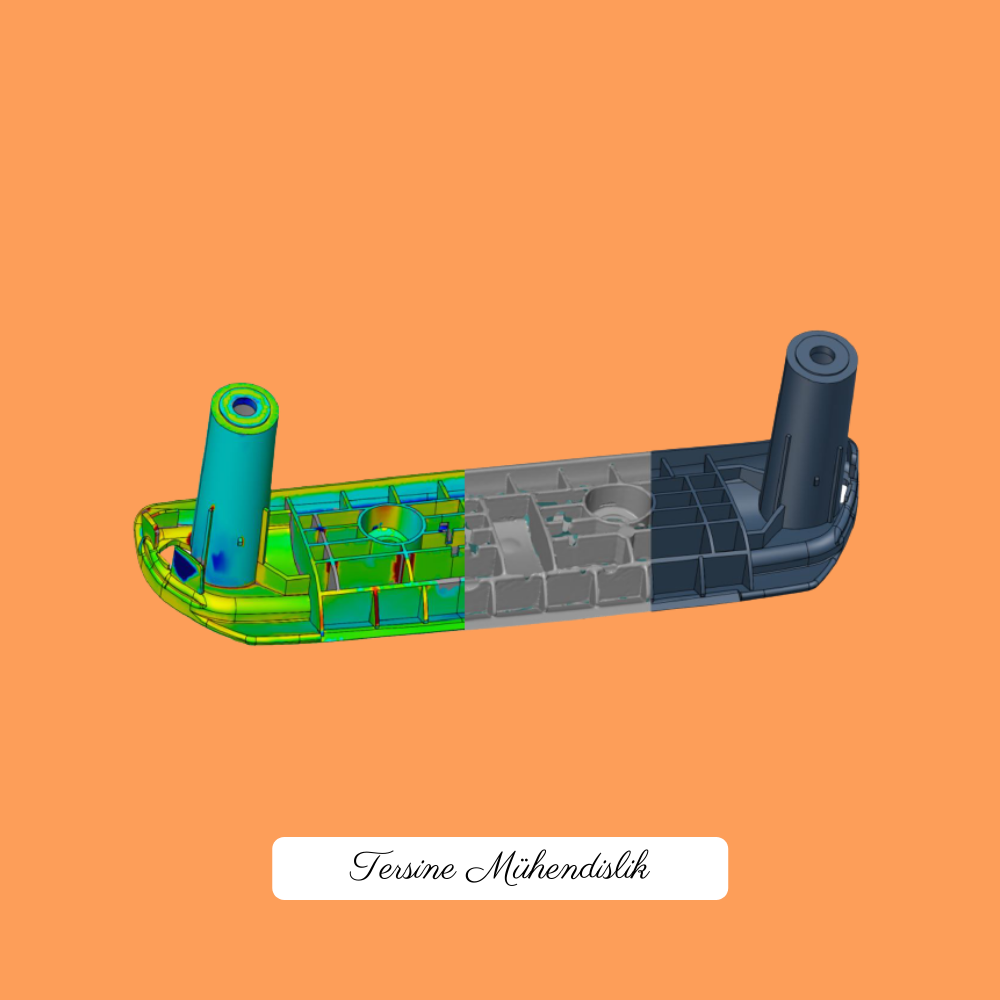
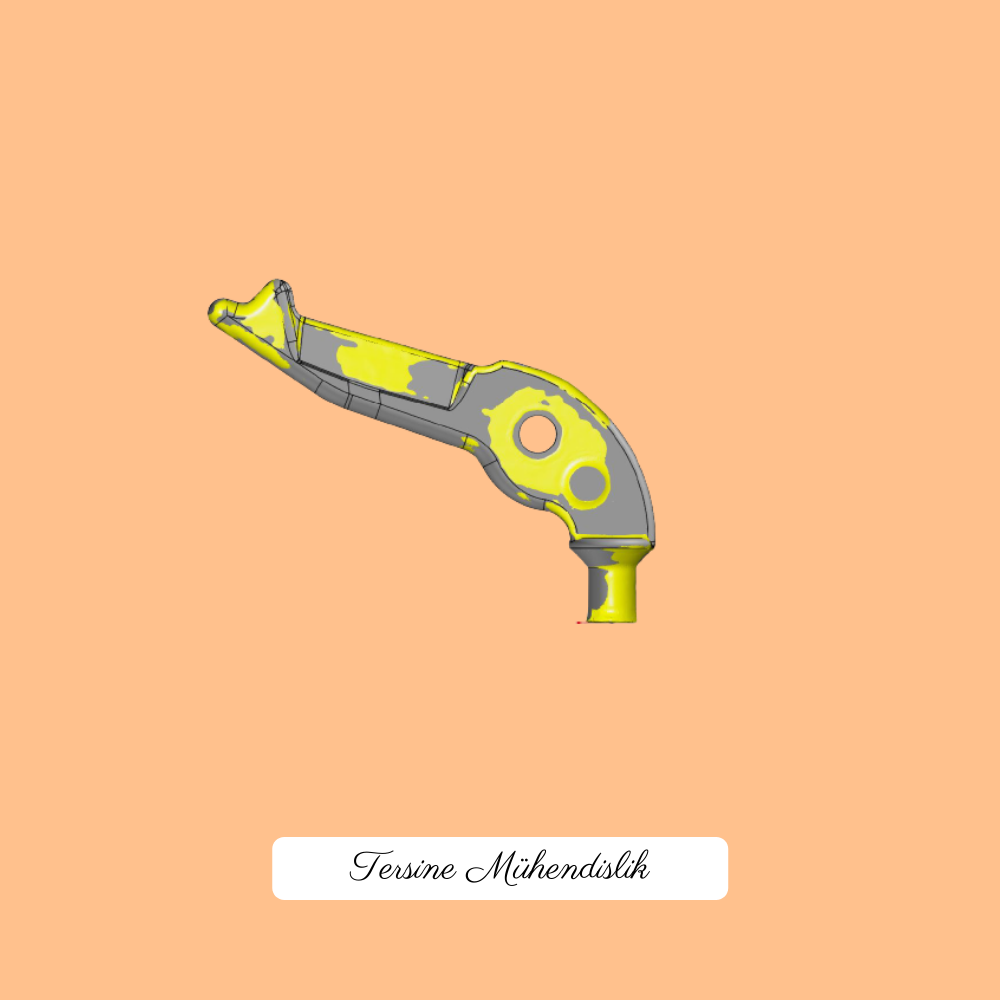
Reverse engineering is a term used with different meanings in different industries. The concept of reverse engineering in the manufacturing sector is the process of extracting CAD data by precisely scanning physical objects with various measuring devices (optical, laser scanners) and making 3D models of the resulting point cloud data. Reverse engineering service may be requested due to different demands such as updating the product design, improving it in terms of engineering, comparing its own product with competitor products or reproducing the product without 3D data. Reverse engineering services are frequently received in the automotive, white goods, defense and aerospace industries.

What is Reverse Engineering?
Reverse Engineering
It is the process of 3D modeling of the point cloud data obtained by 3D scanning of physical objects that do not have 3D modeling, that is, CAD data and a produced sample, that is, the creation of CAD Data.
What is RE?
Reverse Engineering (RE)
An object that exists physically, that is, concrete; The analysis of the design, function or working method by deduction is called reverse engineering.


Reverse Engineering Methods
Reverse engineering methods are available in many forms. The part can be measured by contact, that is, with conventional measuring devices (caliper, micrometer, CMM benches). However, with these measurement systems, only point measurements can be taken, that is, point cloud data is obtained. This reverse engineering method is generally applicable to very simple and geometric parts.
Today’s design technology has made the forms of parts too complex to be measured in the classical way. Therefore, non-contact measurement systems are used to take measurements from all surfaces of the parts precisely and quickly. 3D optical scanning device and laser 3D scanning device fully meet this need.
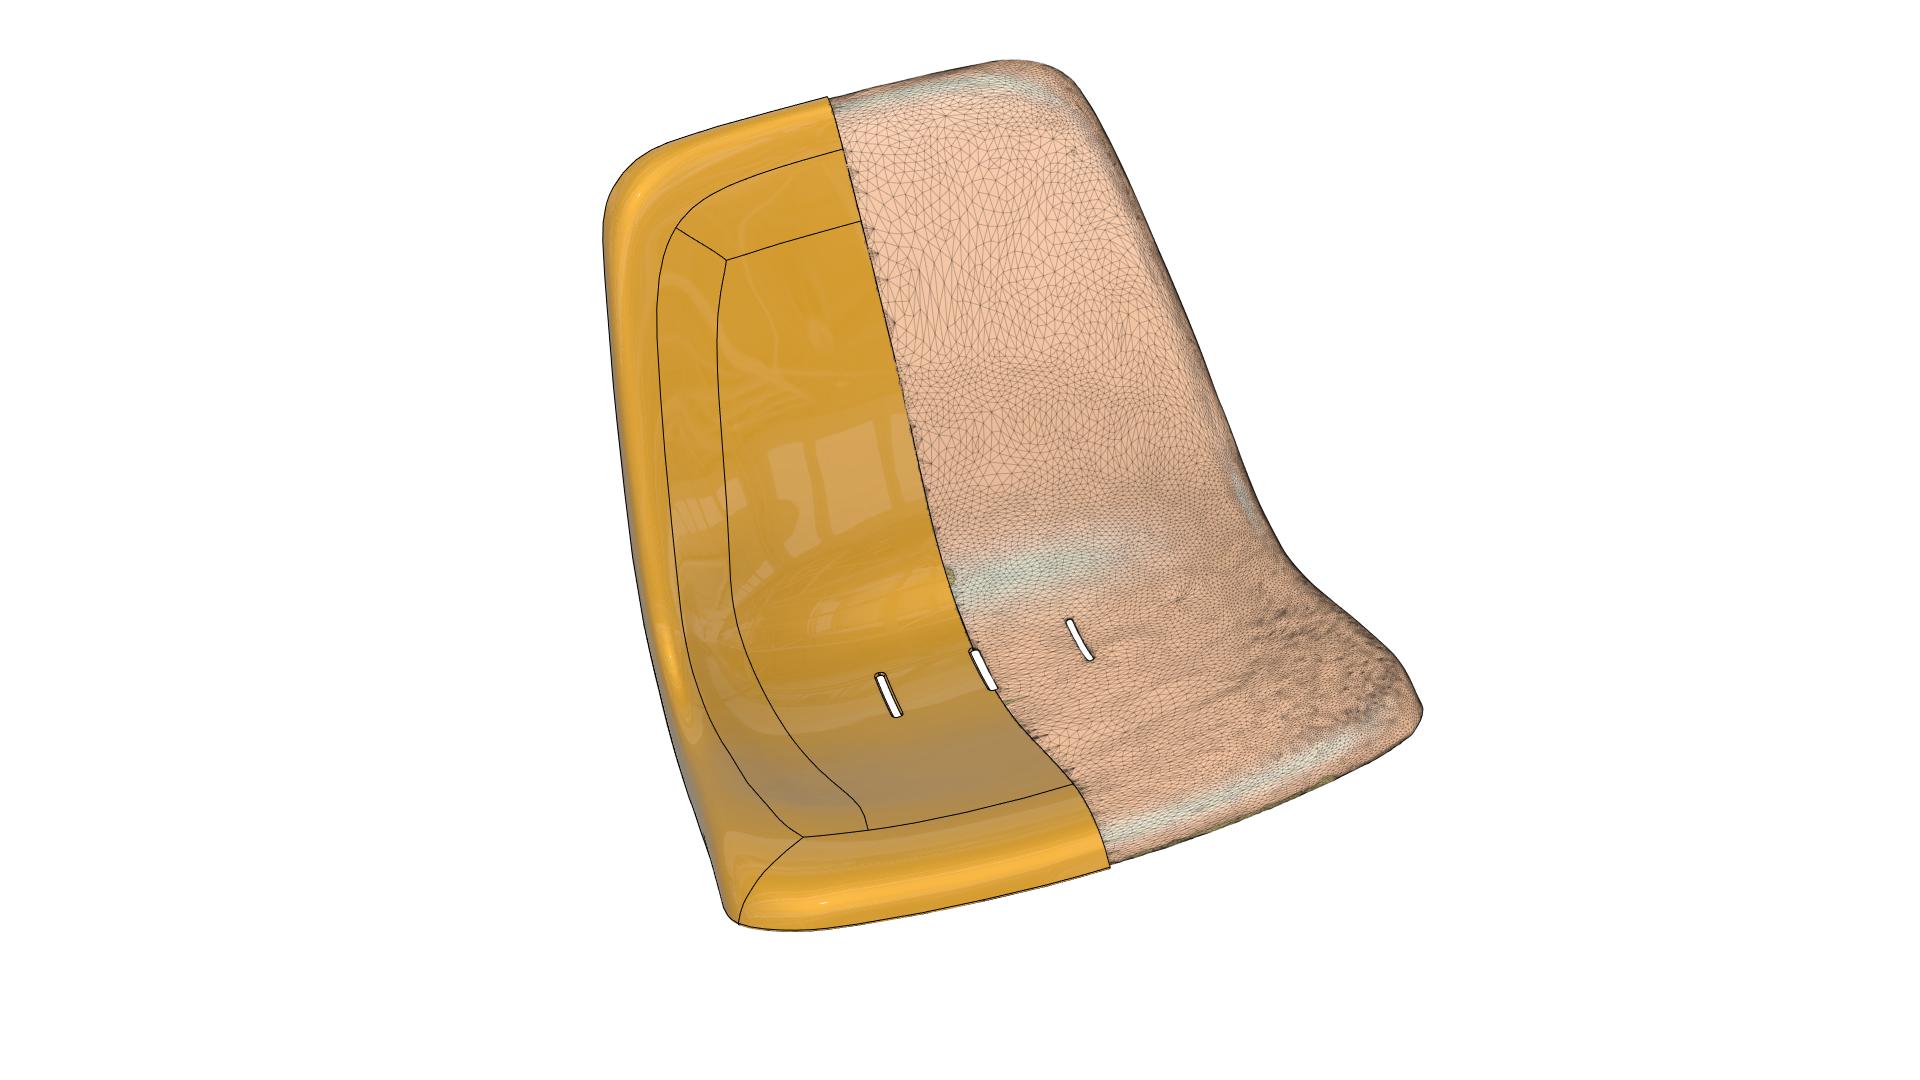
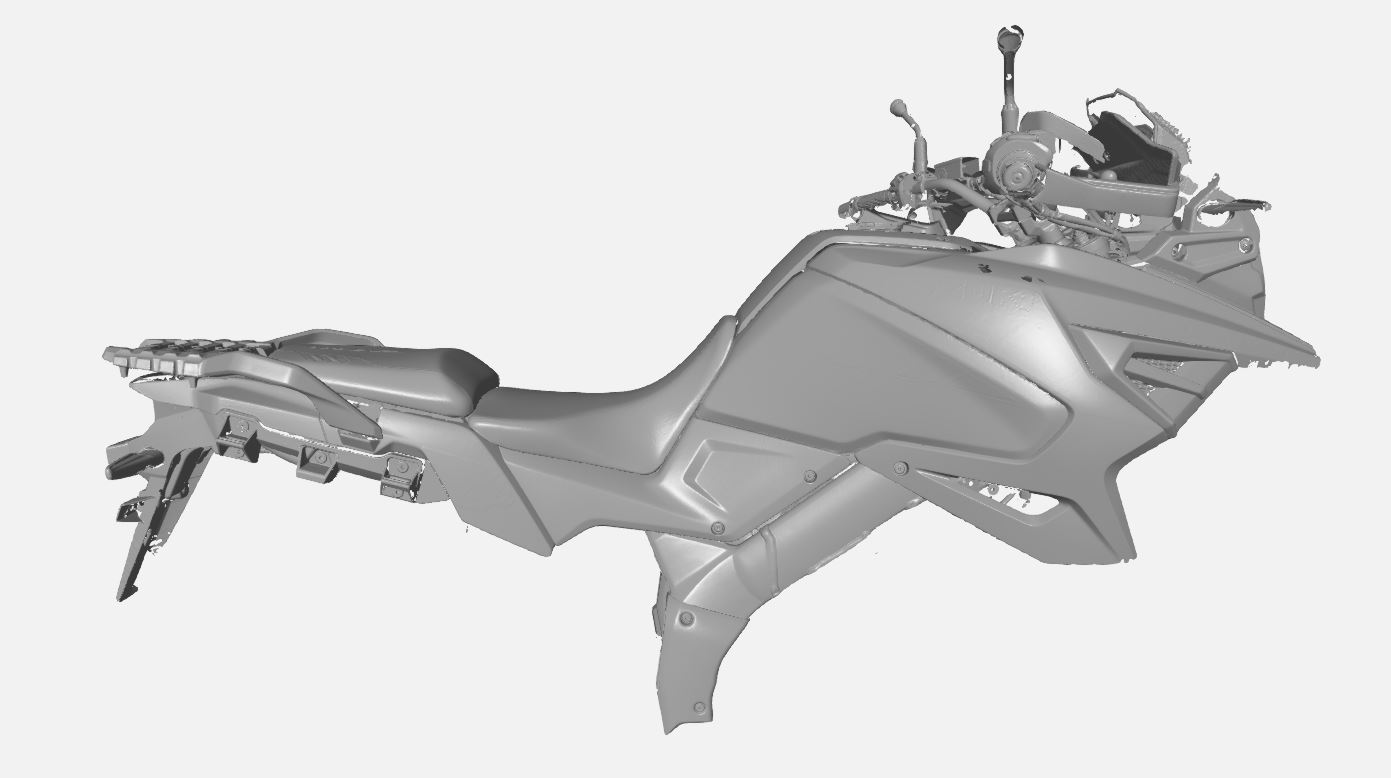
In the 3D scanning process, rays are reflected on the part and many exposures are taken with different angle cameras on the 3D scanning device. With these poses, numerical points are taken. Point cloud data is obtained from the 3D scanning activity. Sections are taken from point cloud data using reverse engineering software. Surface and solid models in different formats such as .igs, .step, solidpart, polysolid, .xd are prepared by 3D modeling of the sections taken in the CAD environment. In addition, rapid surface studies can be performed on models with complex geometry. In the rapid surface study method, a quality surface cannot be obtained, but the surface data closest to the point cloud is obtained quickly. How to do 3D modeling; varies according to part geometry, sensitivities, cost and application. The data generated as a result of these studies is now 3D modeling (CAD) data. Using this data, you can produce your parts over and over again.
Reverse Engineering Service
Reverse engineering service is divided into 2 parts;1. Measurement (Data collection)2. 3D Modeling
The measurement part is the process of taking the measurements of the parts by using all kinds of measuring devices, as mentioned above. 3D Modeling is the process of creating healthy CAD data by processing point cloud (STL) data from measurement. While modeling on STL data, there are many points to consider;
Reverse Engineering Applications
and much more…
